See you soon Flower City Arts Center!

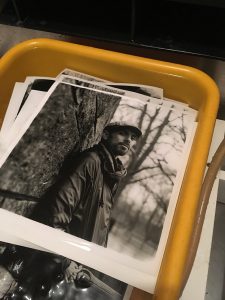
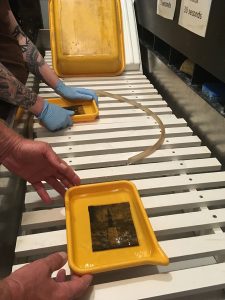
I can’t believe it, my summer as Artist-in-Residence at the Flower City Arts Center went by so fast! The past few months were filled with so many challenges and productive activities. While my work is primarily shot using black and white film, I haven’t had the chance to print images within the darkroom in almost seven years. For me, working in the darkroom is like riding a bike – something that feels natural even after many years without practice. It was truly a delight to be able to reconnect and use the darkroom this summer.


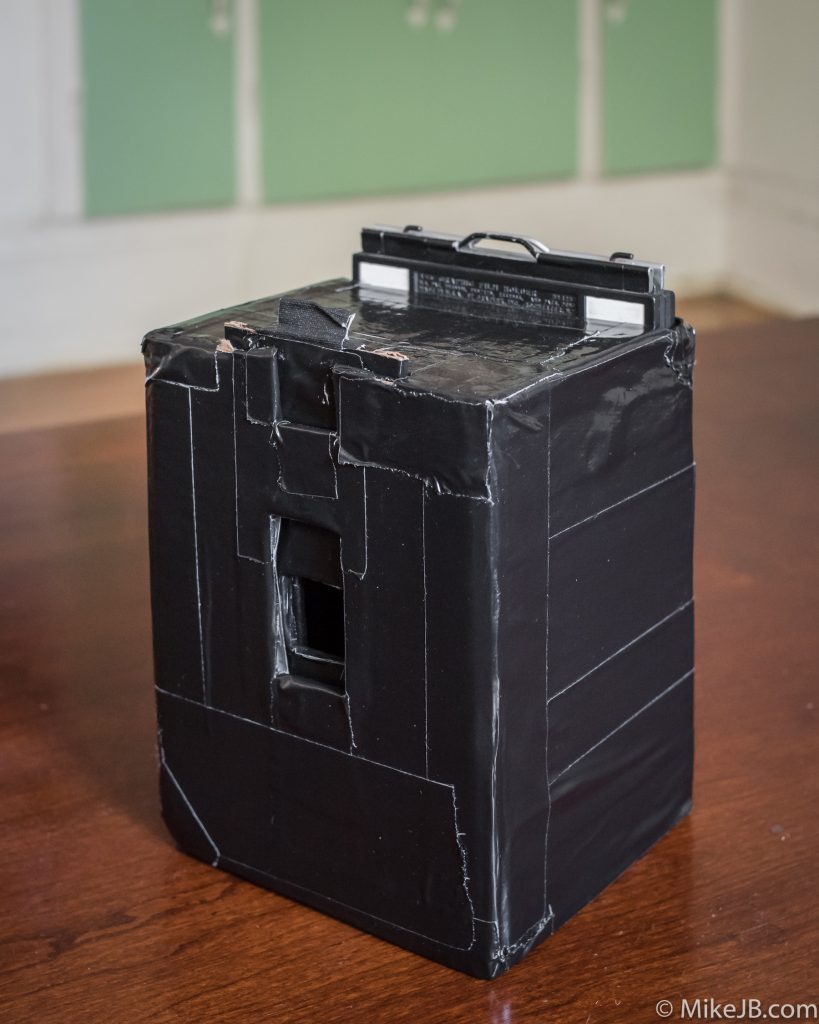
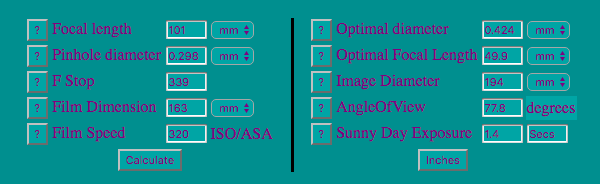
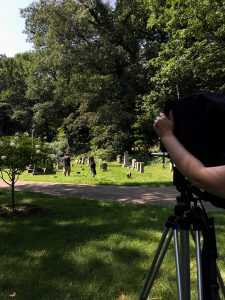
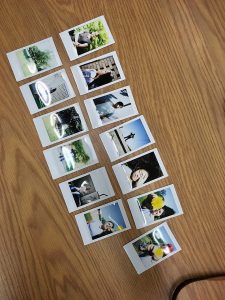
I also got the chance to teach a FCAC 4×5 photography class. What a challenge! A big thank you to all my wonderful students this summer. It was a great learning experience and I had a lot of fun carrying around the 4×5 camera on our field trips. The photos have been looking great, and I can’t wait to see more of the images that were shot during the class. One of my favorite things about photography is the way it connects me to people. Besides the 4×5 class, I also got to connect with youth migrant farmers at a SUNY Brockport photography workshop. While this was a short-term workshop, I am hoping to work on a larger project with this group, since the students have so many amazing stories to tell. 


Out of all my projects however, I mostly enjoyed starting my new body of work It’s called the American Flag. While I had some initial ideas for this project, I didn’t expect that it would grow to center around my everyday landscape in Rochester. I was continually surprised by how many different ideologies could be found living together on the same block. As I began to photograph, my objective for the project grew to raising awareness on a local level and hopefully encouraging people to connect with their neighbors no matter what their beliefs. I can’t wait to come back next year in order to continue this project.

I will really miss the FCAC along with all the wonderful people that I was able to connect with here. Thank you all for your continued support. See you soon!

Citlali Fabian

The Technical Pinhole Camera Project – Part 1

The technical Pinhole camera sans pinhole plate

One night Mark Watts and I were working in the darkroom together while he was making test prints for an upcoming exhibition showcasing his pinhole camera work. Prior to meeting Mark, I had been fairly disinterested and dismissive of pinhole photography which to me felt like another far-reaching “lomo” trend. I think it’s time to give pinhole cameras a second chance.

Seeing Mark’s pinhole prints in the darkroom for the first time, I was captivated by their sharpness and clarity, though not perfect in those respects but, certainly fair for artistic work. Now I’m scratching my head as those rusty pinhole knowledge gears start breaking into motion.

Meanwhile that same night Megan Charland had been coincidentally perfecting her pinhole skills in preparation for a Friday Fling in pinhole photography class. I discovered this running into her in the hall where she was inspecting a freshly developed pinhole contact print. To create her pinhole images Megan was using a handmade tubular oatmeal can as a camera; the image was fairly sharp and rich with details. Fast forward to Friday night, I jumped-in on that pinhole class to get my mitts on one of those cameras. After viewing my first pinhole picture I was impressed with the acceptable level of detail in the image – though my exposure time definitely needed an adjustment.

In these moments enters certain realizations:

  1. My artistic photography subject consists of perfectly still structures and stable tripods making shutter-speed a non-issue. In fact I want breeze swept trees and all scene motion to blur away slightly.
  2. I always shoot with a near infinite depth of field as my subjects are often expansive.
  3. I really only ever shoot with a fixed 35mm focal length for my subjects of interest.
  4. I don’t really have the “fun” money to dump into a large format field camera and lens right now, but I could get into this pinhole stuff DIY style, as I happen to also be a carpenter (though I’m not far off from building a view camera also).

One problem was that I needed the use of rise and fall camera movements which are crucial when shooting architecture. Also Mark had complained about the guesswork involved when trying to frame a composition without a viewfinder. However implementing those improvements seemed like an exciting challenge.

At this point a normal person would transcend gradually into a healthy obsession; perhaps google pinhole cameras for a while, join pinhole Flickr groups, follow pinhole culture boards on Pinterest, etc. I skipped all of that and still not knowing what a real well-made 4×5 camera even looked like. So I snagged a 4×5 film holder and my trusty micrometer, and started doing math to figure out my own design. The only thing I googled for was a useful pinhole size calculator and immediately found this site, no pictures, just all the calculators I would need.

A screen shot of the final numbers I went with for this porject
A screen shot of the final numbers I went with for this project

So, here is my challenge: build a vertical shift capable 4×5 view camera with an accurate viewfinder that compensates for raising the front standard frame shift. First step: build a cardboard proof of concept prototype.

After a week of visualizing various designs and crunching numbers I settled on building the Frankenstein pictured at the beginning of this post. Looking past that duct taped “weather sealed” exterior there’s a precision gaffer’s tape lined interior that accepts 4×5 film holders, gives me a 35mm format equivalent focal length of 28mm, and offers about 33mm of rise. I’m not worried about the viewfinder challenge just yet in this prototype, instead I’m only testing various pinhole sizes and actual shift ranges.

Stay tuned for part two where I create the actual pinhole and study some test shots.